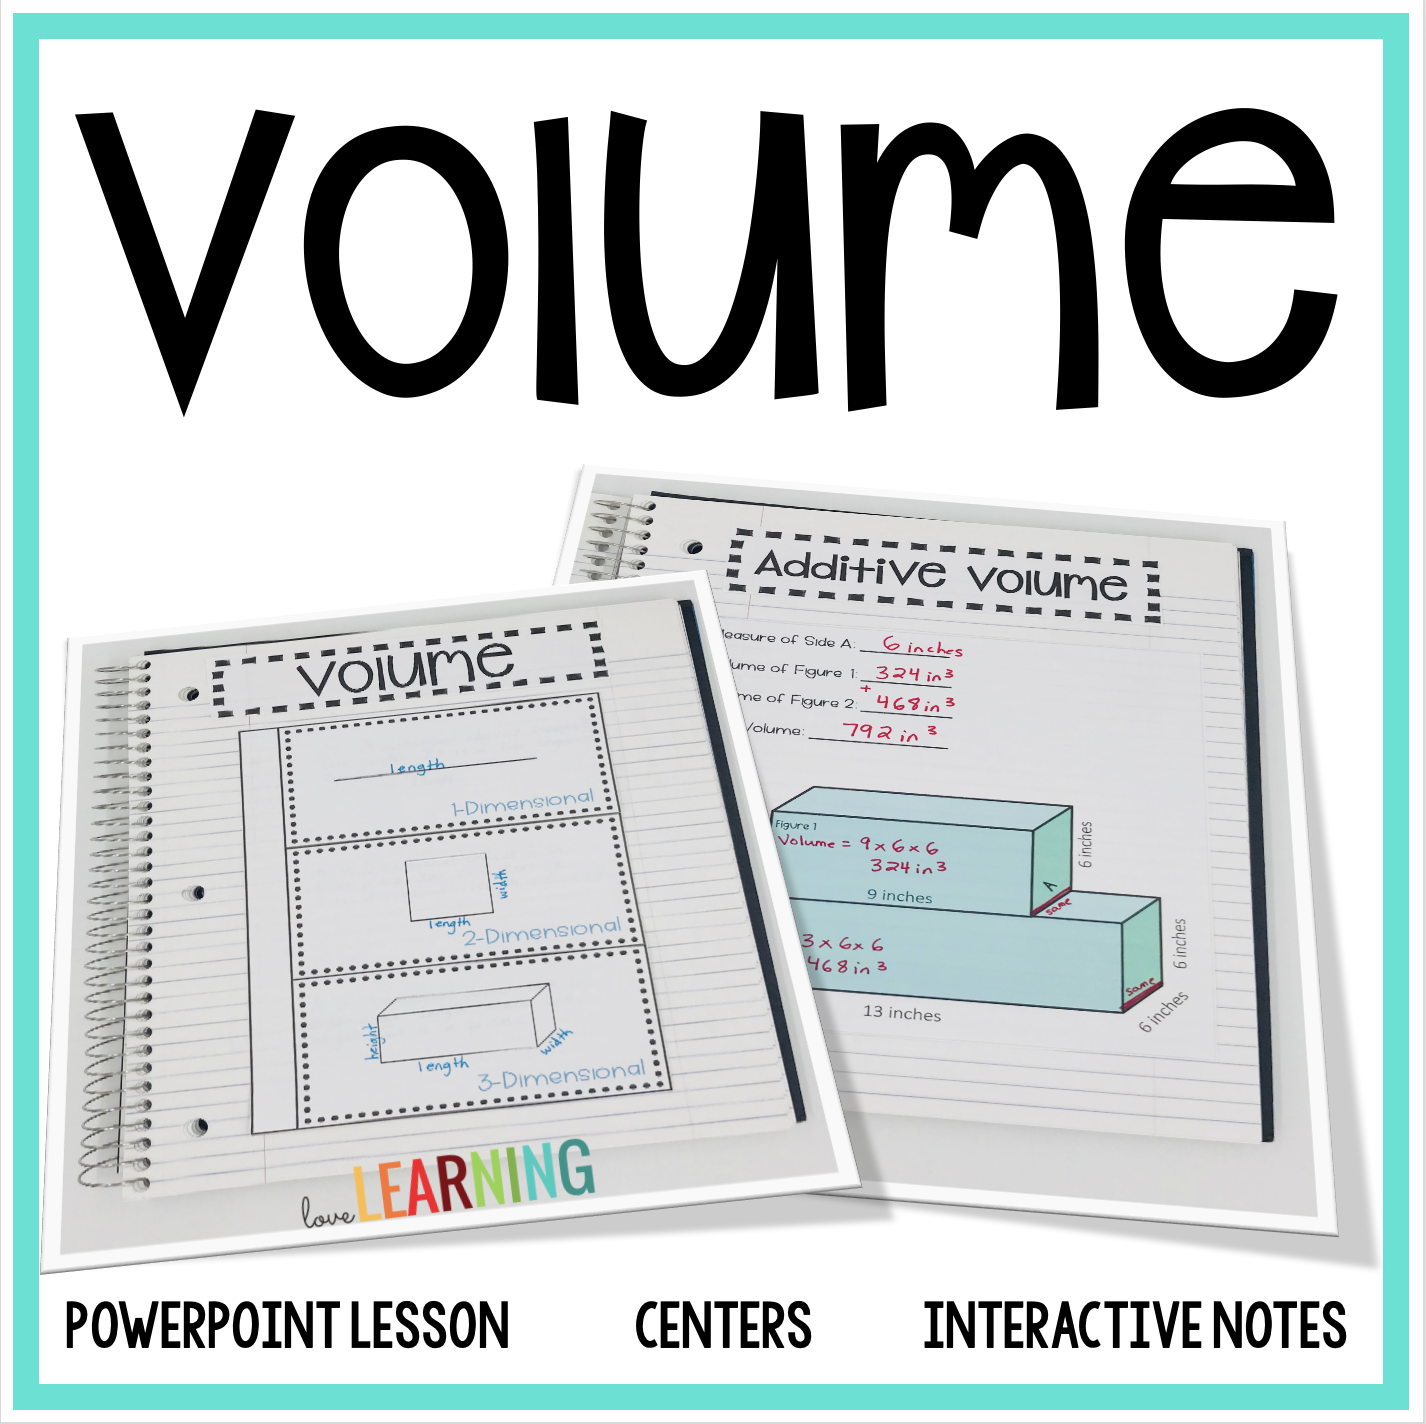
If you’re wondering how to teach volume to 5th graders in a way that’s effective and engaging, you’re in the right place!
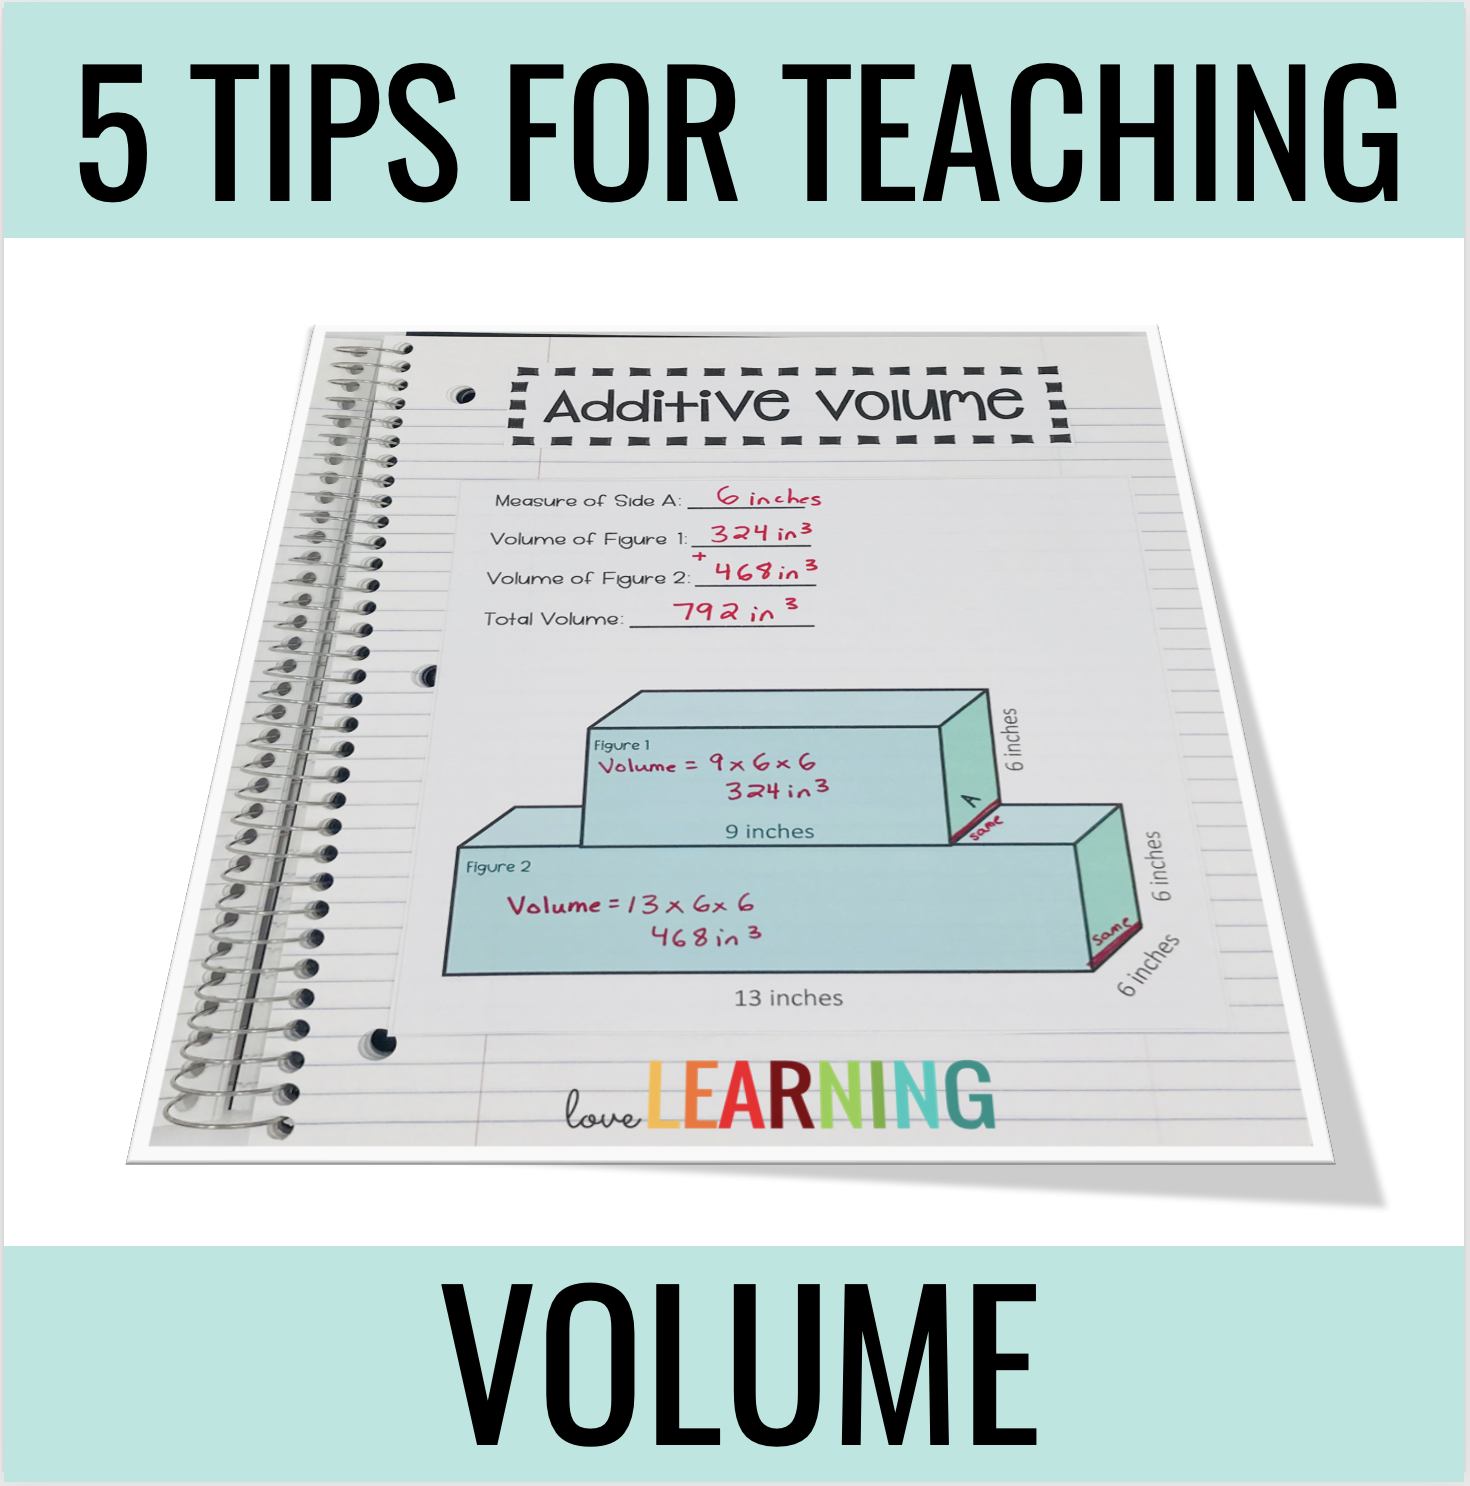
As a fifth-grade teacher, volume has always been one of my favorite math concepts to teach. It’s visual, it taps into students’ spatial reasoning skills, and best of all – many students who struggle with concepts like fractions really shine when it comes to volume. I love any math unit that can help boost student confidence!
Here’s what I’ve learned works best when teaching volume of rectangular prisms and composite figures:
1. Teach Multiple Strategies and Let Students Choose
One of the most important things I’ve learned about how to teach volume to 5th graders is that there isn’t just one right way. Give students multiple strategies to find volume and allow them to use what makes sense to them.
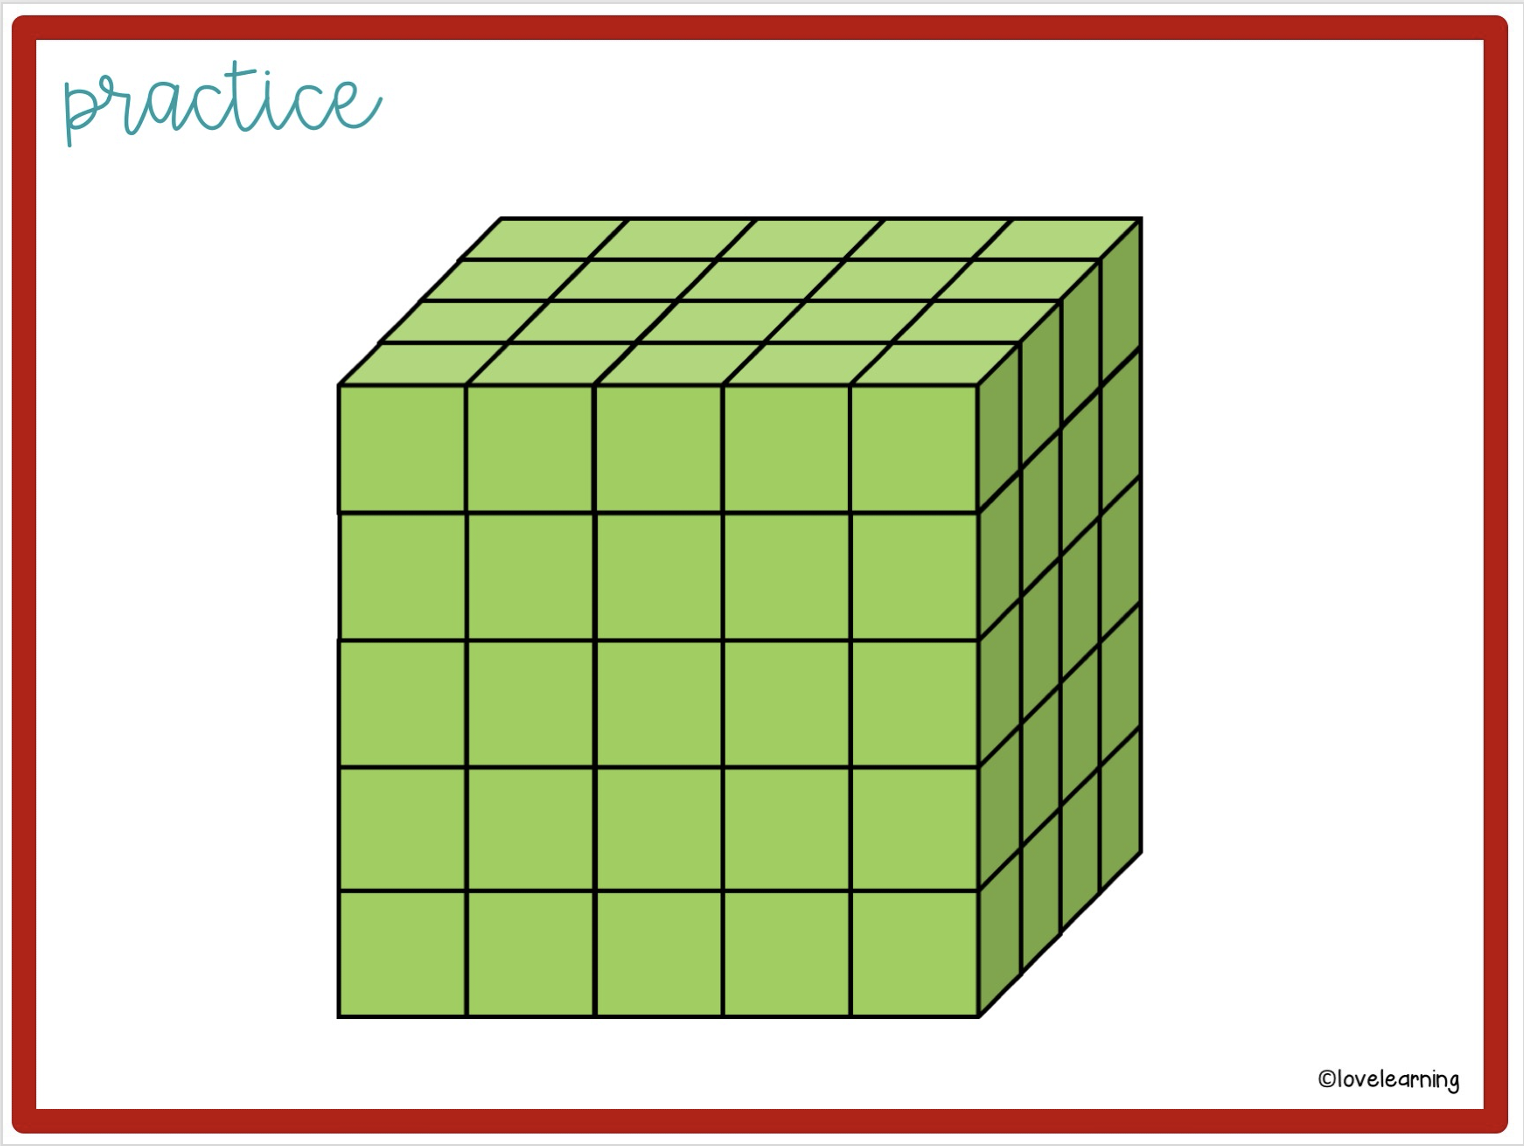
If the cubes are visible, students can:
- Count each cube individually
- Count and add the layers
- Multiply length × width × height
- Find the area of the base and multiply by the height
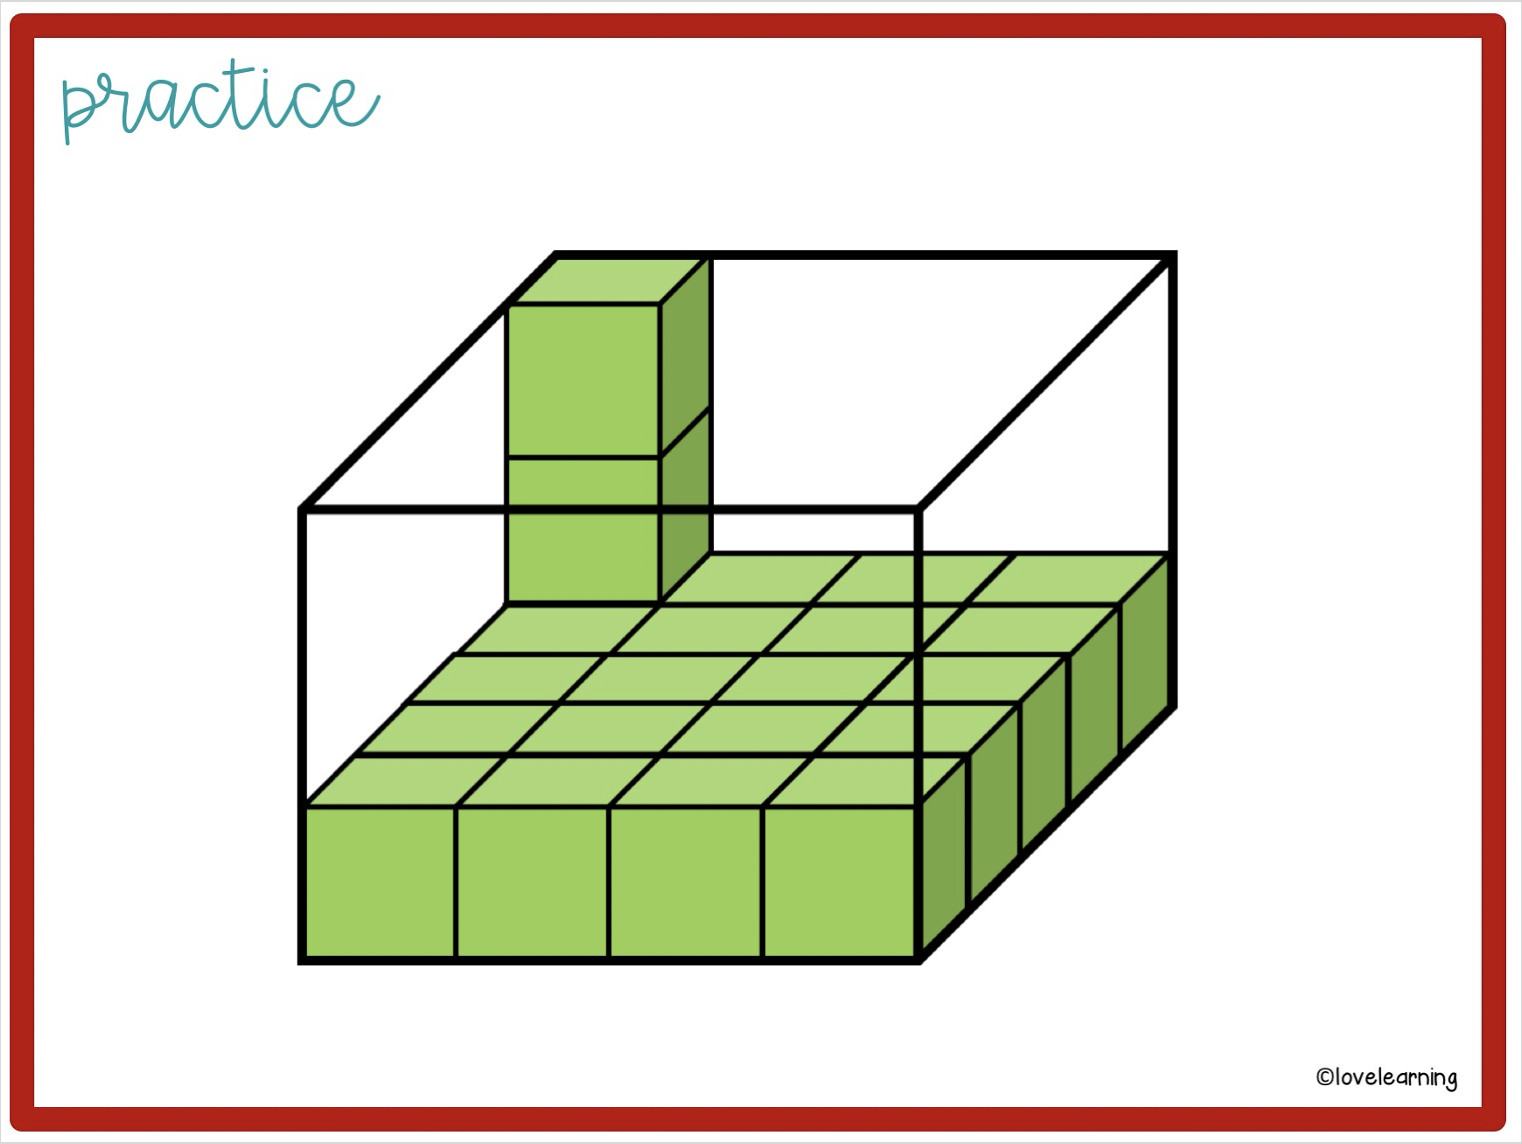
If the cubes aren’t all visible:
- Count all cubes if possible
- Multiply length × width and then add the rest
- Subtract the visible cubes from the total volume
Most of my students eventually gravitate towards the formulas, but many also check their work with one of the other strategies.
2. Use Hands-On Volume Activities
When figuring out how to teach volume to 5th graders, hands-on learning is a game changer.
At the start of our unit, I review the difference between 1D, 2D, and 3D shapes. This helps students understand what “cubed” means when measuring volume.
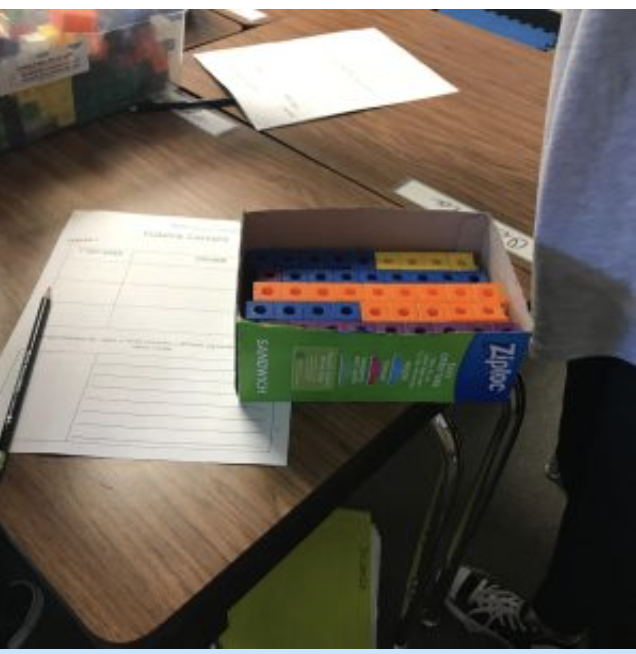
I also save pantry boxes and use them for hands-on center rotations. One of the most popular centers? Using Unifix Cubes to fill boxes, count cubes, and then calculate using the volume formula to see that both methods produce the same result.
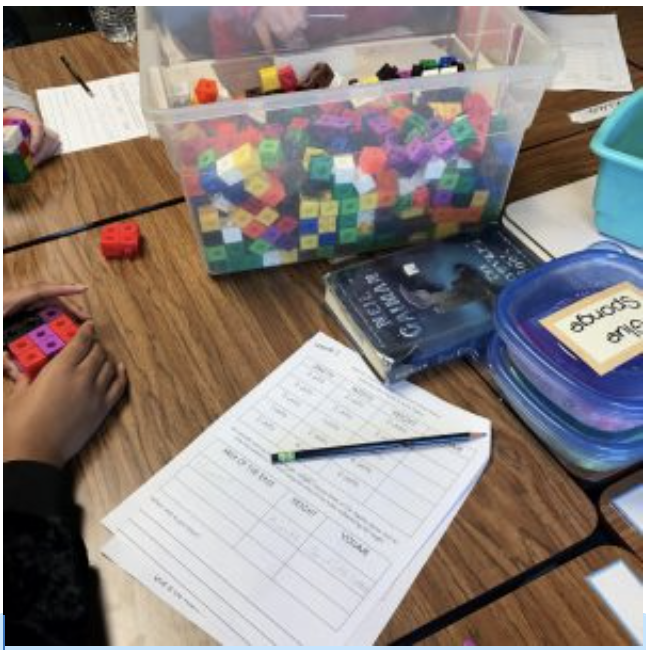
In another center, I gave students a certain length, width, and height, and they built the prisms and counted the cubes to determine the volume. This really helped engrain which side was the length, and which side was the width (since I often get a lot of questions about the two).
3. Scaffold Instruction for Composite Figures
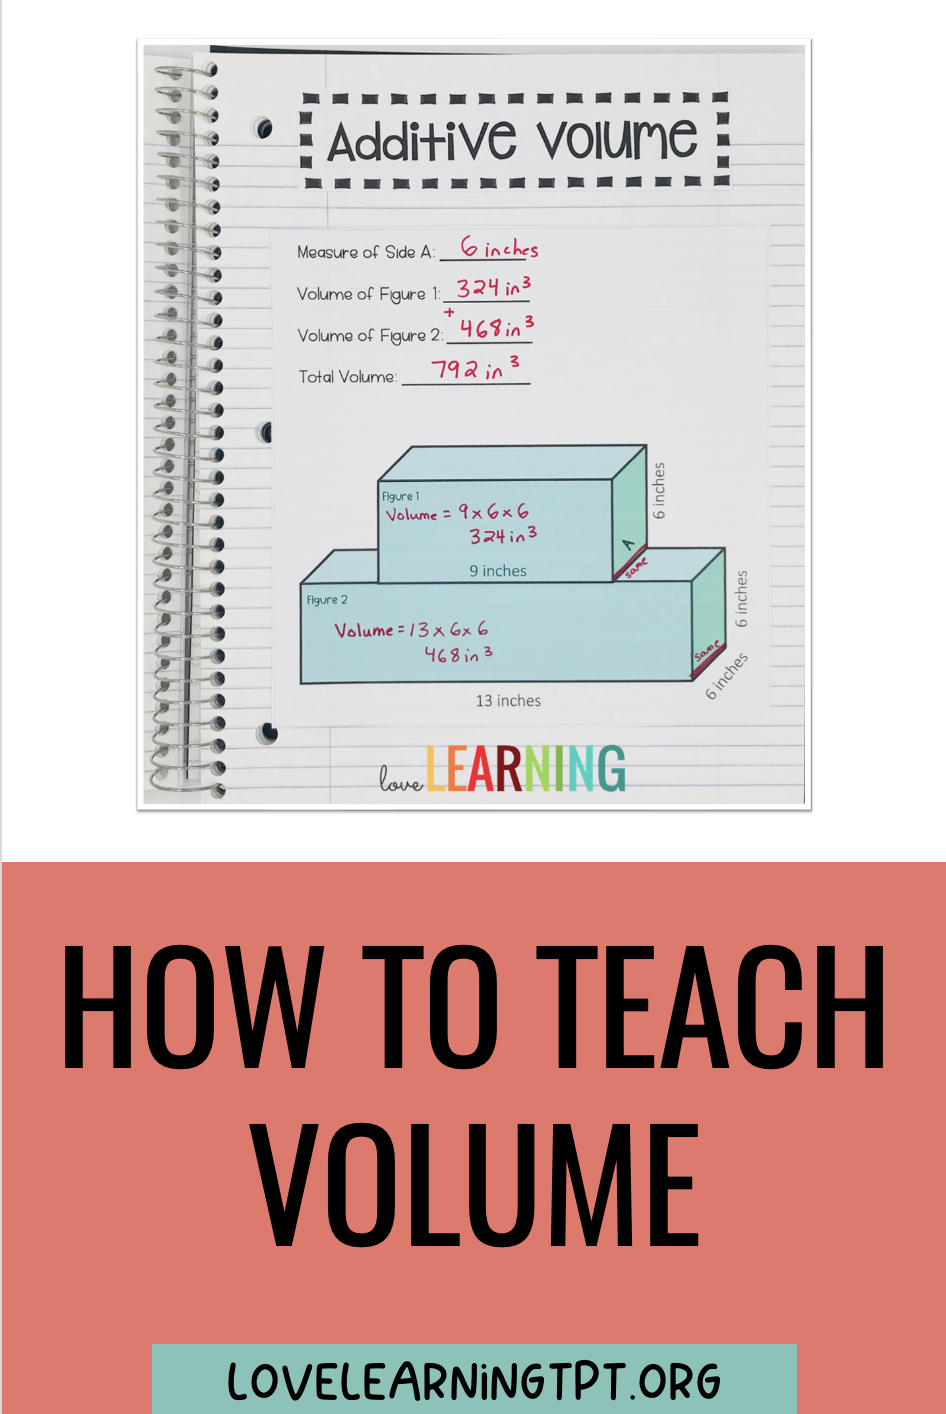
If you’re looking for tips on how to teach the volume of composite figures, always start with scaffolding.
For years, I made the mistake of jumping into complex composite figures with missing side lengths. My students were overwhelmed and confused.
Now, we take it step by step:
- Identify and label all missing sides first
- Find the volume of each prism separately
- Add the volumes together
What was the biggest mistake that my students made? Multiplication and addition errors. *sigh*
Since this was such an important skill that I wanted my students to master, they had to show me their answers before moving on to the next math activity. If they got anything wrong, I sent them back to revise. They know my policy – we need to learn from our mistakes in math!
4. Partner Work with Task Cards
Another fun and interactive idea for how to teach volume to 5th graders is using task cards for movement-based partner work.
One of my favorite ways to use task cards in the classroom are to print them out and tape them around the room. This gets my students moving and I have found that they are much more focused. The purpose of task cards (in my opinion) should be continued practice of a skill through a variety of different questions. I always allow my students to work in partners when completing task cards.
Since students are moving around the room instead of staying in one place, I have a chance to listen to some of their conversations as they get closer to my small group table. Side note – I strategically tape the more challenging problems close to my small group table so that I can hear that discussion. : )
I hear the BEST conversations when my students are working with a partner when their answers don’t match. One partner explains their point of view, and the other naturally explains theirs. This usually results in three scenarios:
1. One of the students changes his/her answer.
2. They both rework the problem to see if their new answer matches.
3. They get frustrated and ask me or another group (if I’m busy) for help.
This right here has SO MUCH value!
5. Make Volume Fun!
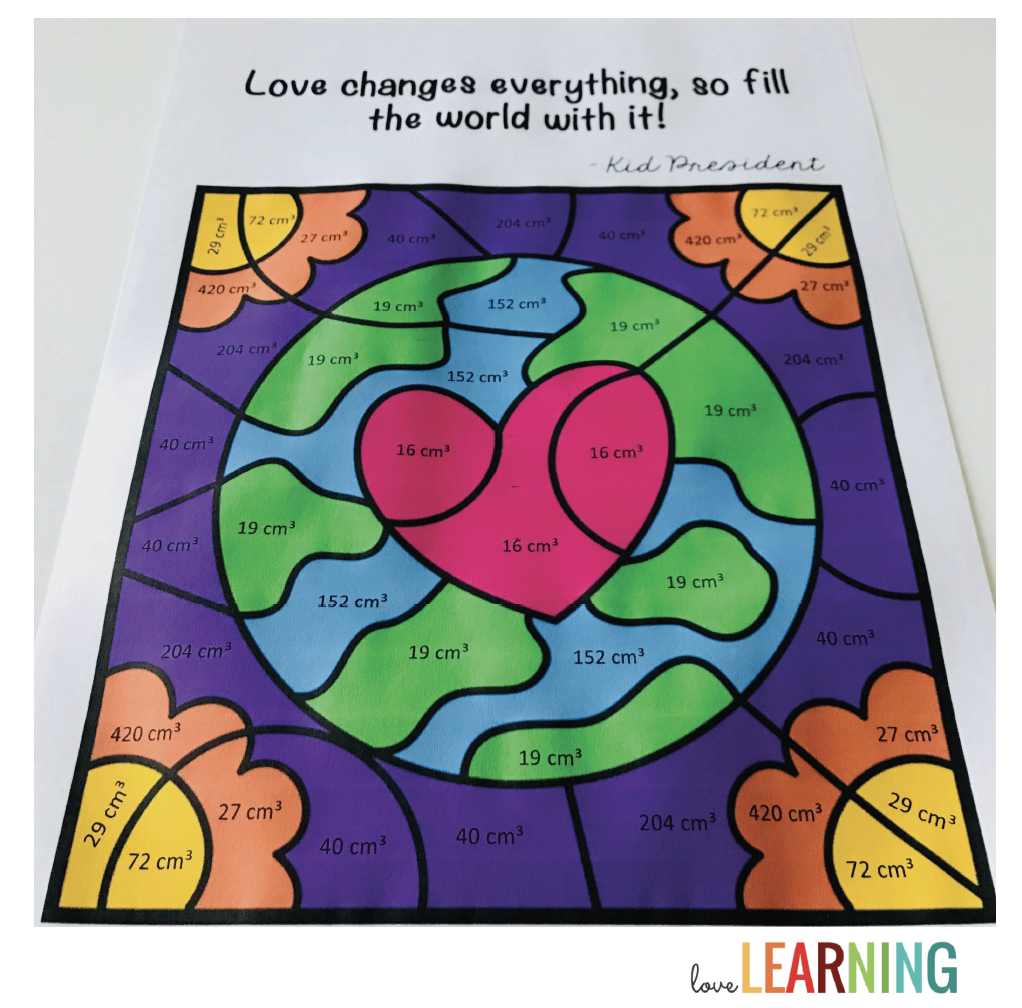
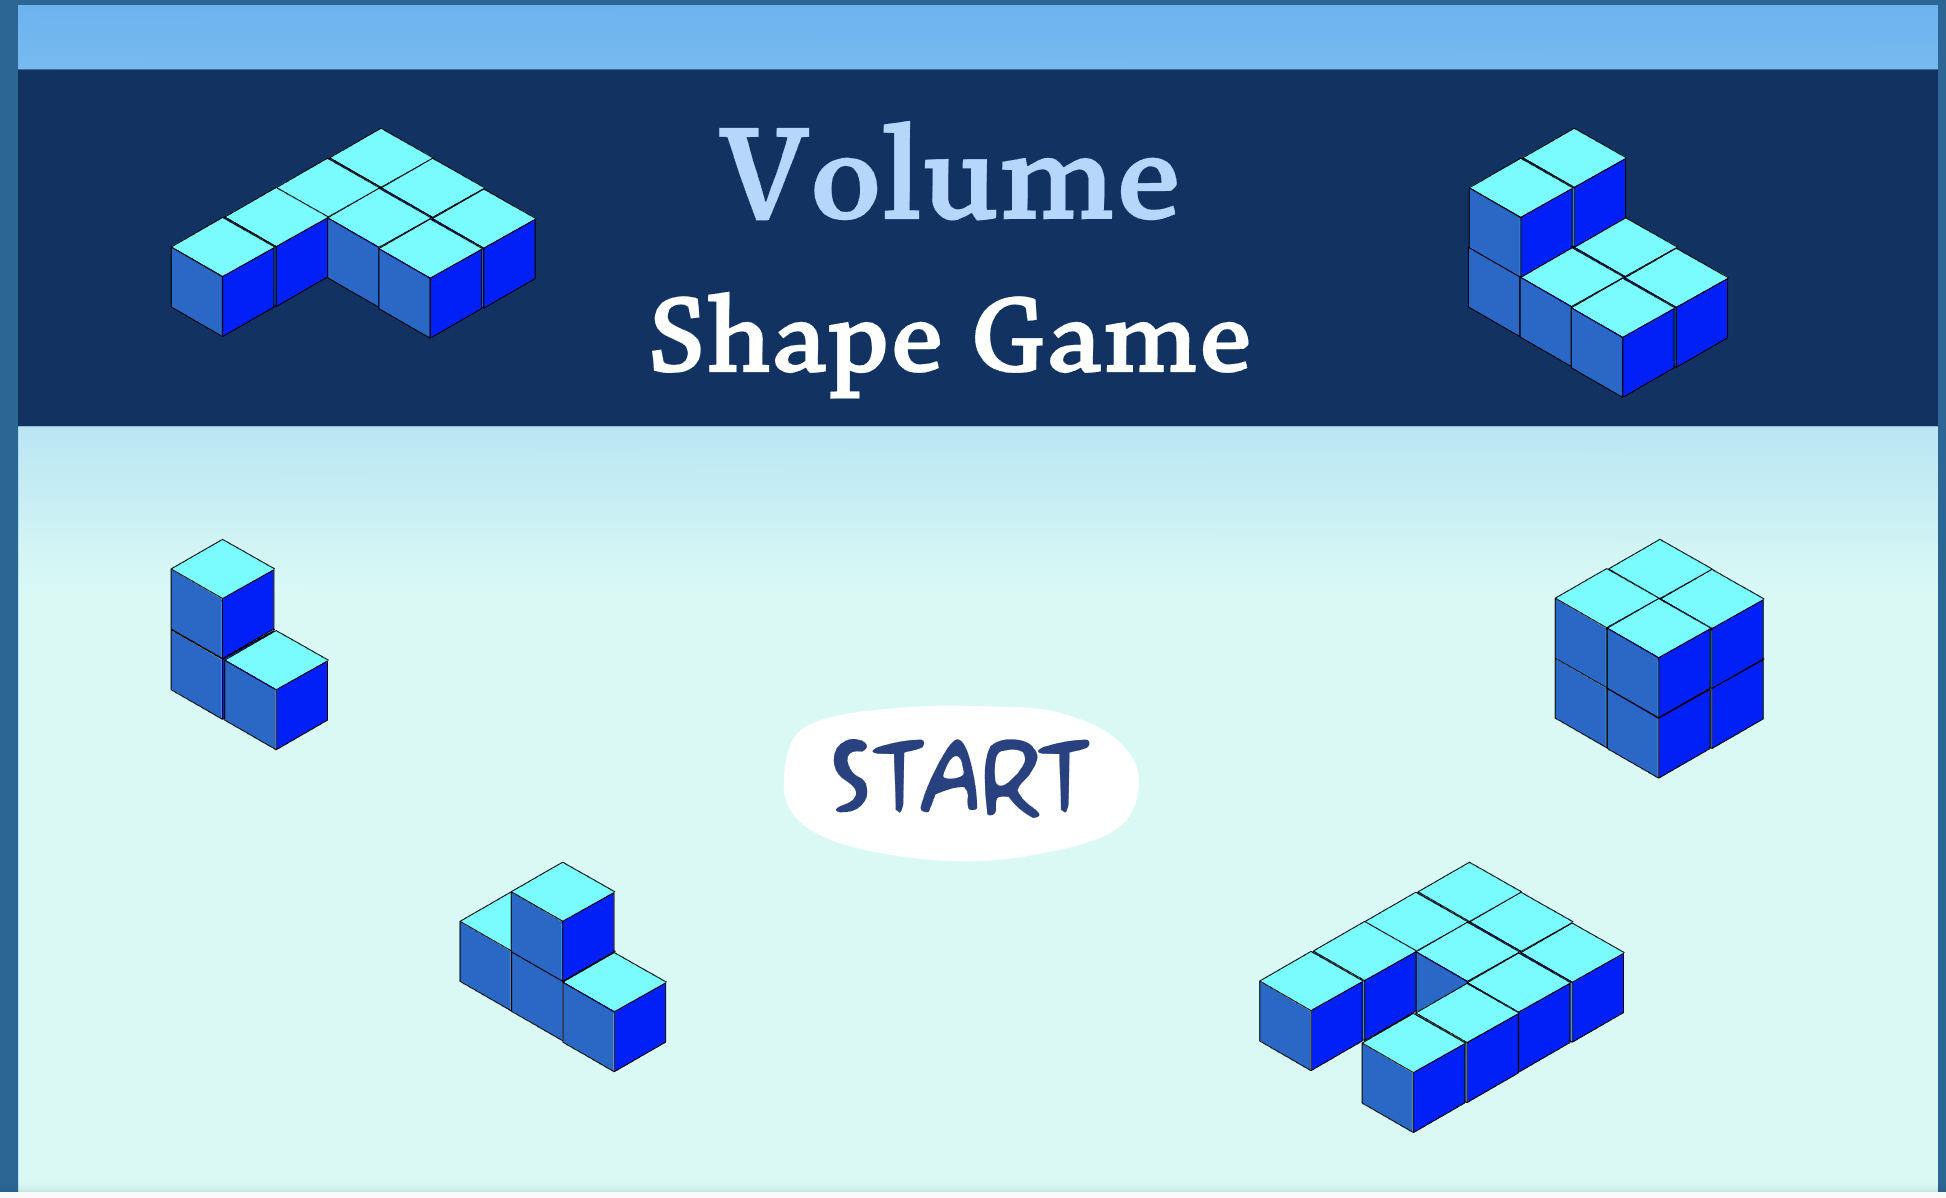
Additive volume can be mentally exhausting, so I like to mix in some fun activities throughout the unit:
I hope these ideas make teaching volume a little easier to understand!
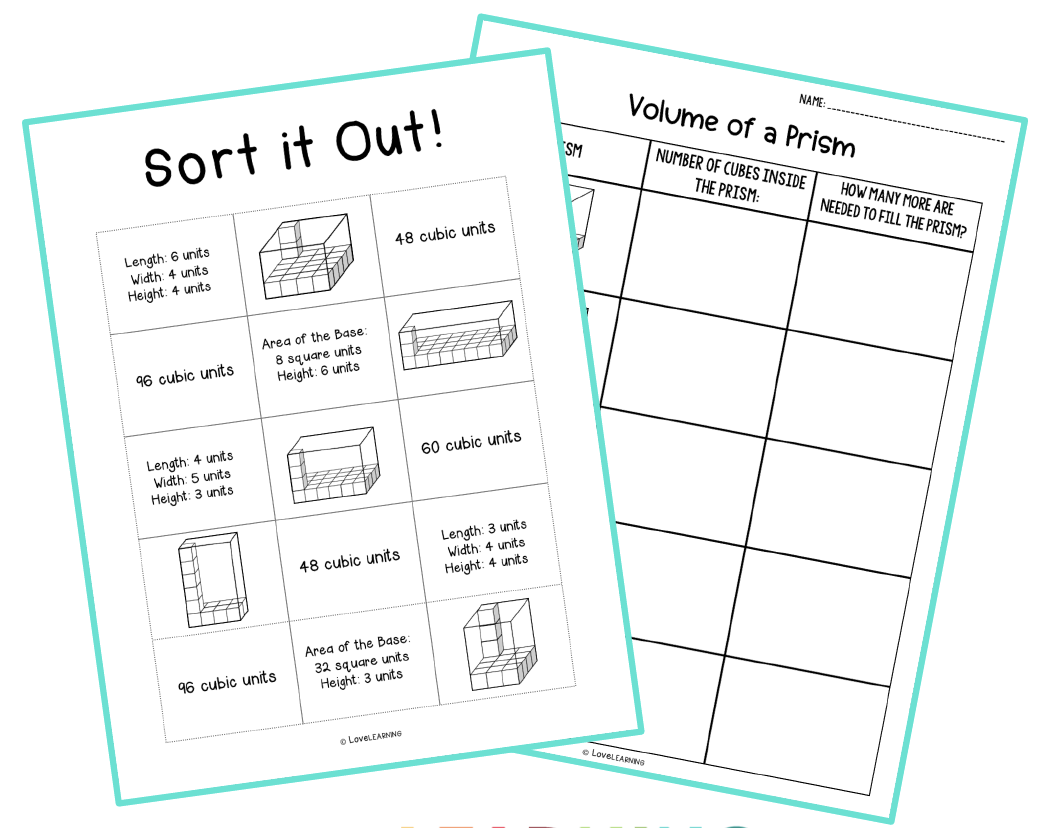
If you are interested in the resources found in this post, see below!
Happy Teaching! 🎉

PIN THE IMAGE BELOW TO SAVE THIS POST FOR LATER!
